開発環境のセットアップ
ここでは開発環境となるEC2インスタンスをセットアップします。 EC2への接続にはEC2 instance connect endpointを利用します。
構築手順
スタックのデプロイ
CdkConferenceStack.jsonを用いて、Cloudformationのマネジメントコンソールからスタックのデプロイを行います。
Create stack > With new resources (standard) > Choose an existing template > Upload a template file > Choose file > CdkConferenceStack.json > Next > Stack name: CdkConferenceStack > Next > I acknowledge that AWS CloudFormation might create IAM resources. にチェック > Next > Submit
およそ5分ほどでデプロイが完了します。
EC2へのアクセス
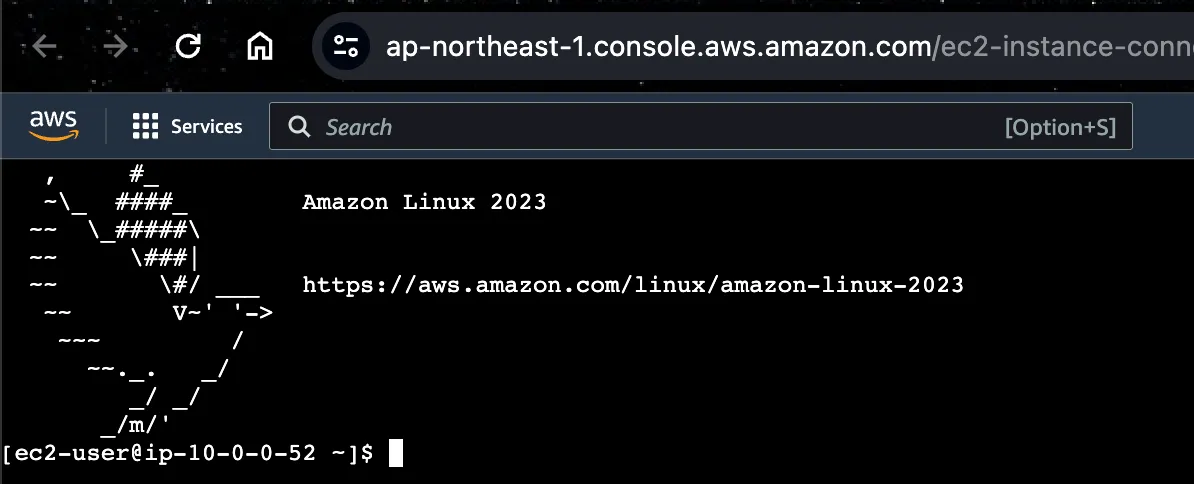
AWSコンソールのEC2管理画面にアクセスし、EC2インスタンスにEIC Endpointを経由して接続します
Instance IDを選択 > Connect > EC2 Instance Connect > “Connect using a Private IP” ボタンを選択 > “EC2 Instance Connect Endpoint” に値が指定されていることを確認 > Connect
以下の画面が表示されればOKです。
VSCode Serverへのブラウザアクセスの確立
EC2上で以下のコマンドを実行し、VSCode Serverを起動します。
[ec2-user@ip-10-0-0-23 ~]$ code tunnel service install[2024-06-10 02:10:42] info Using GitHub for authentication, run `code tunnel user login --provider <provider>` option to change this.To grant access to the server, please log into https://github.com/login/device and use code 3811-9932続いて、ブラウザでhttps://github.com/login/deviceにアクセスし、コードを入力し認証を完了させます。
- 上記の例では’3811-9932’を入力 > Continue > Continue > Authorize-Visual-Studio-Code
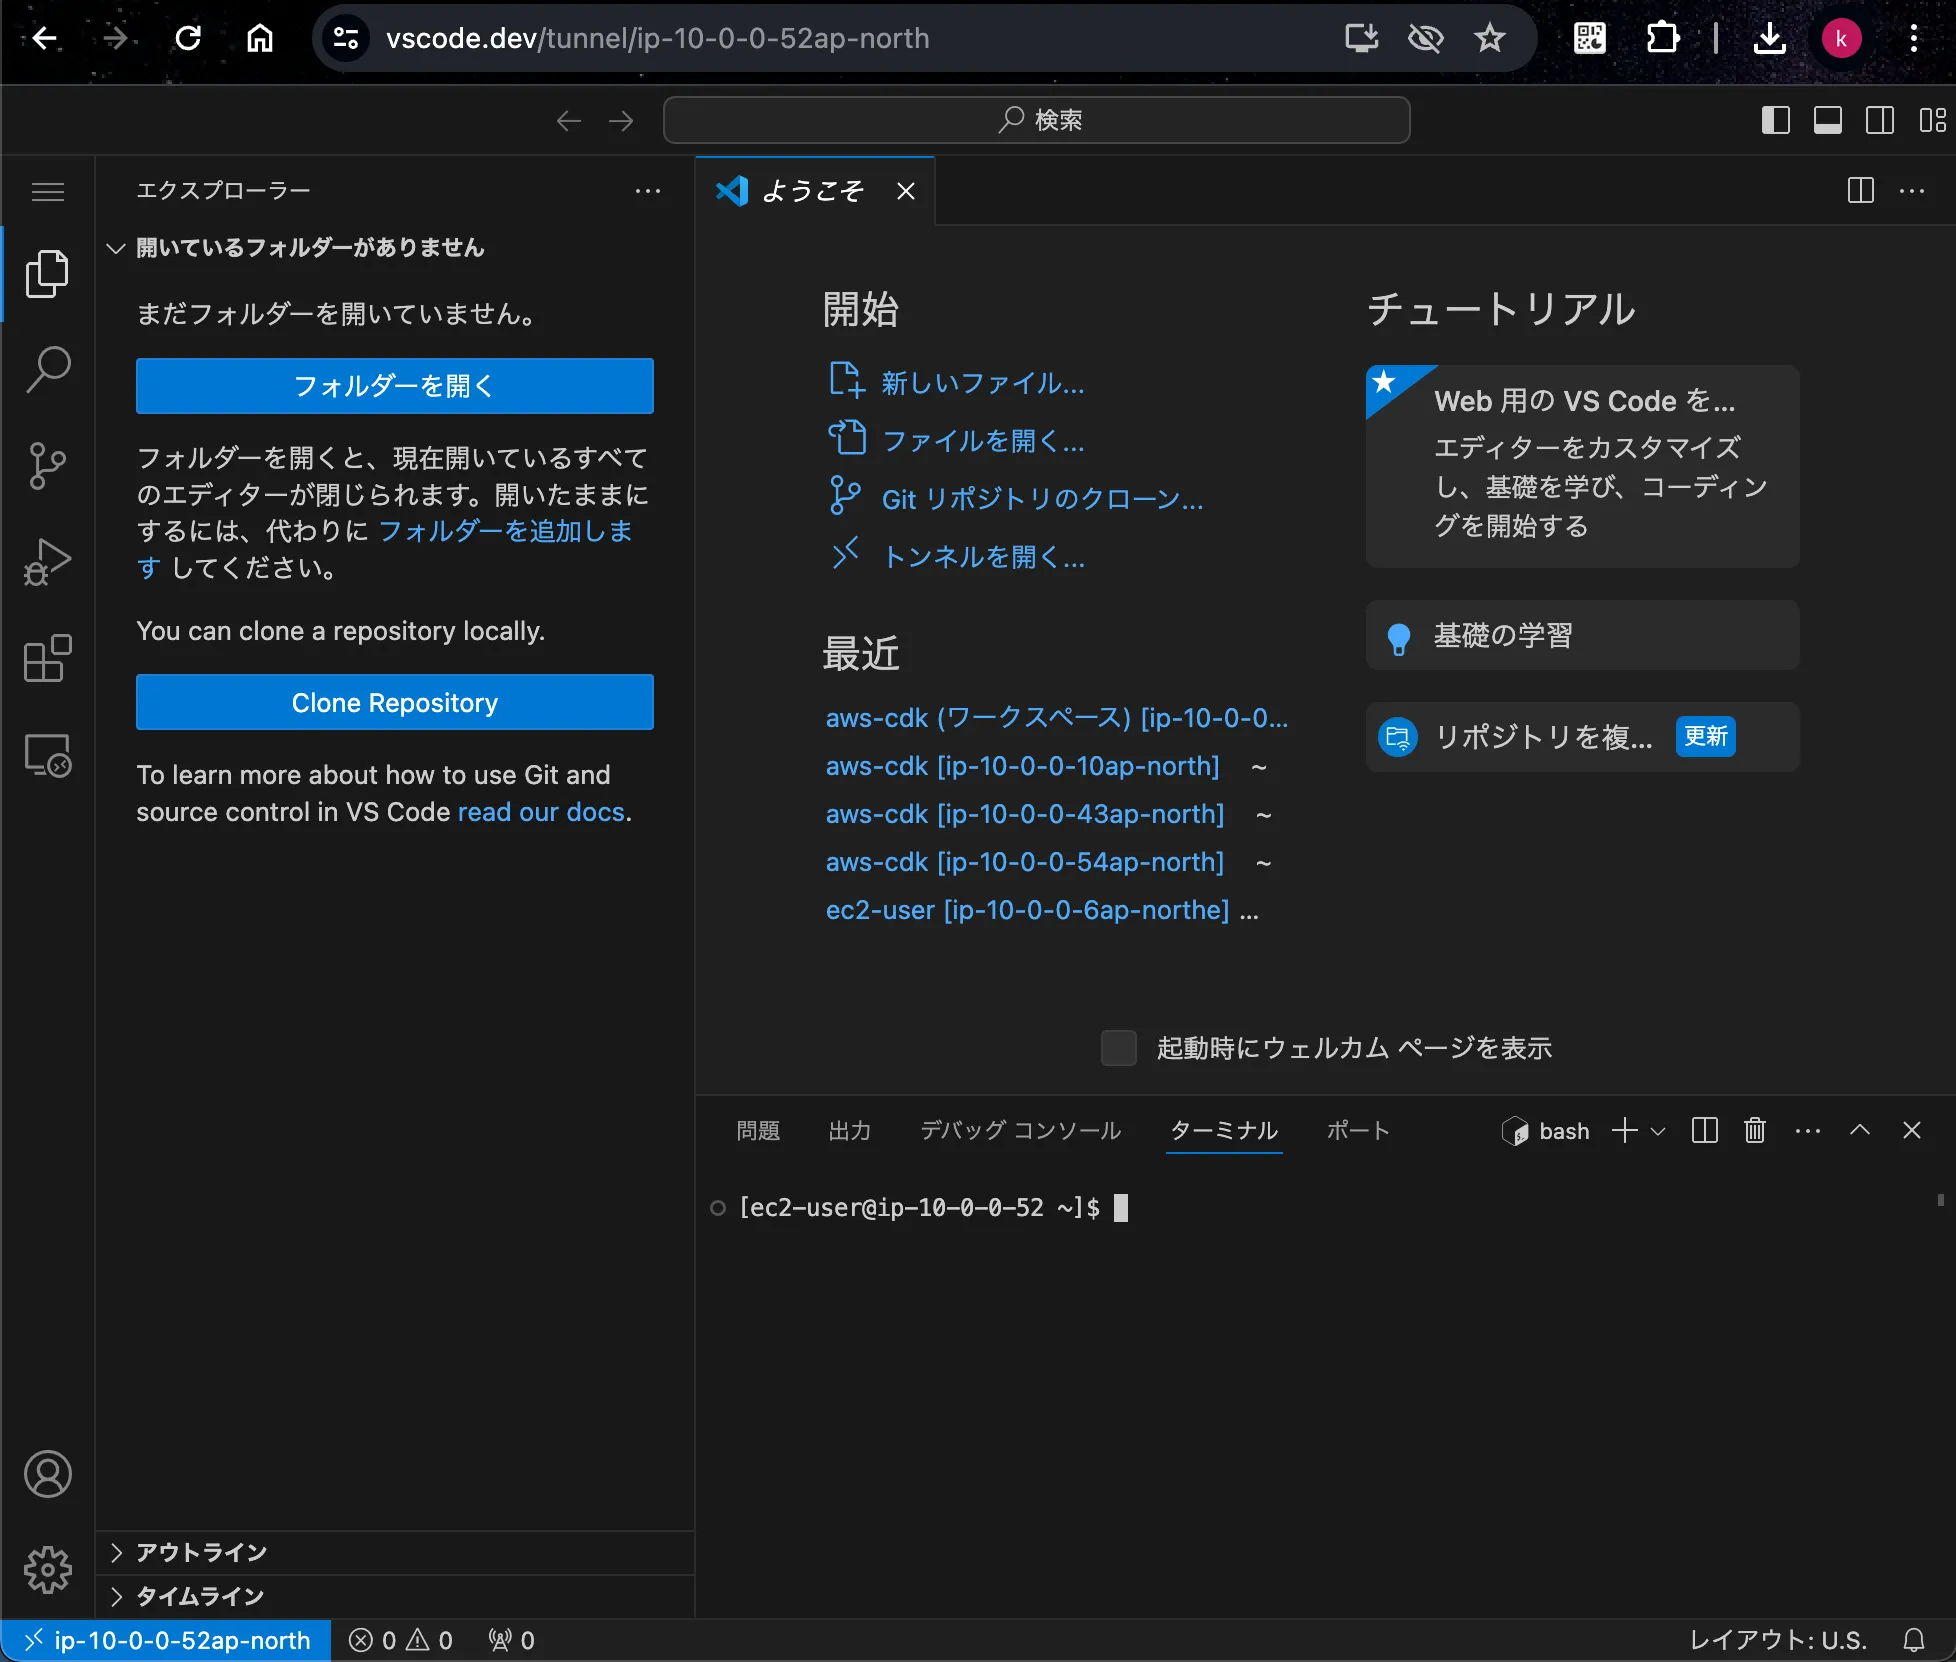
EC2に戻り、改めてcode tunnelを実行し、以下のように表示されたURL (https://vscode.dev/tunnel/ip-{pricateIp}{region}) をブラウザで開きます。
[ec2-user@ip-10-0-0-23 ~]$ code tunnel** Visual Studio Code Server** By using the software, you agree to* the Visual Studio Code Server License Terms (https://aka.ms/vscode-server-license) and* the Microsoft Privacy Statement (https://privacy.microsoft.com/en-US/privacystatement).*[2024-06-10 02:11:44] info Creating tunnel with the name: ip-10-0-0-23ap-north[2024-06-10 02:11:44] info Open this link in your browser https://vscode.dev/tunnel/ip-10-0-0-23ap-north
Connected to an existing tunnel process running on this machine.
Open this link in your browser https://vscode.dev/tunnel/ip-10-0-0-23ap-north
VSCodeが開くので、「このトンネルを開始するために使用したアカウントの種類は何ですか?」でGitHubを選択します。
このとき、再度GitHubの認証画面が開くことがありますので、Authorizeを押下します。
ターミナルを開けば準備完了です。